Having lived in my house for more than three years, I felt it was time to get some live TV. The signal here is poor and even with a booster, on the aerial in the loft, it is still unable to pick up any decent channels. It was time to fit a dish!
Materials:
- Reflector
- Reflector Bracket
- LNB (Low Noise Block)
- 20m Twin Coaxial Cable
Tools:
- Hammer Drill
- 10mm Masonry Bit
- 13mm Socket and Ratchet
- Cable Clips
- One Cable Tie
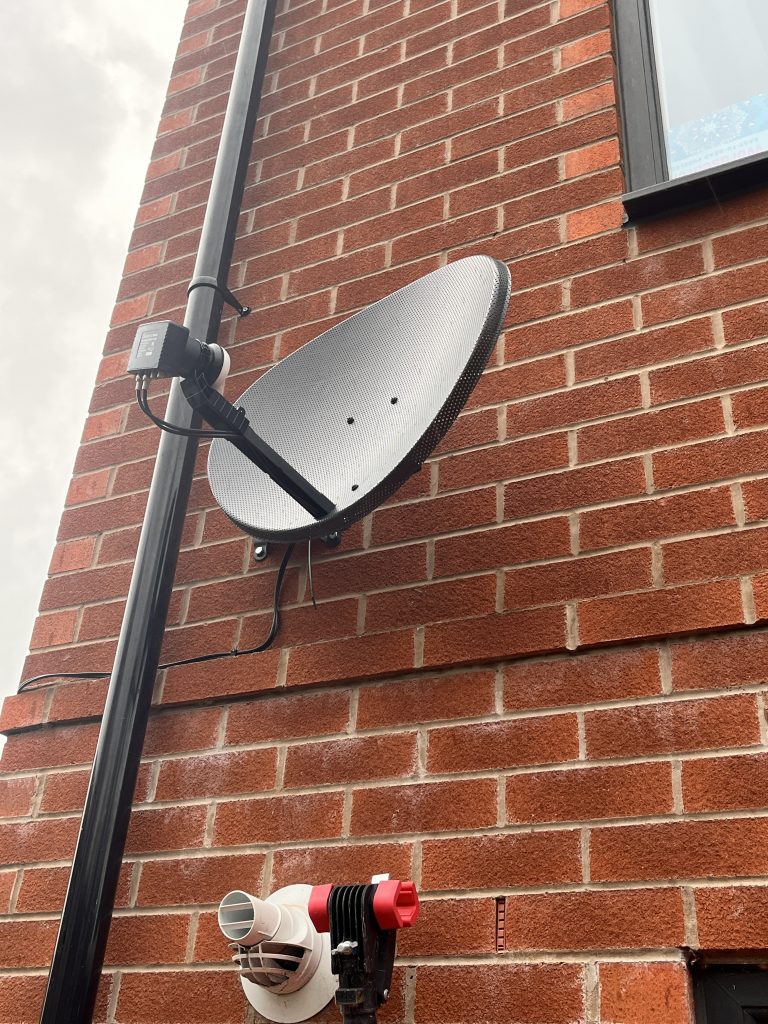
I purchased a fresh dish kit from an Amazon seller. It came with a satellite finder, cable, dish and LNB. Before fitting the wall bracket, I assembled the dish with the provided instructions. The bracket was easy to install, using the large 8mm plugs that it came with. Using the socket, I fixed it down. Even I could hang off of it, it’s that well attached.
I added the bracket and dish assembly to it and finger-fixed it on, ready for alignment. This was the part that would be difficult. I pinned the cable around the wall and then spent fifteen minutes getting the twin cabling through the wall. Once in, I a screwed the F-Connector Plug back on and hooked it up to my TV. (My TV has satellite built in, but it’s not as good as a Freesat box or set would be. Just a matter of channels being a little archaic.)
Using the Signal Finder, I moved the dish around, comparing it to the other houses around me. I picked up Eutelsat and Astra 1, first. After checking on dishpointer.com, I was able to find the Astra 2 satellite at 143 degrees, with an elevation of 23.5 degrees; I then installed the channels. It works fine, but could do with a little tweak. At least I now have live TV and not rely on the online sprawl of watchable output. Good times, ahead!