
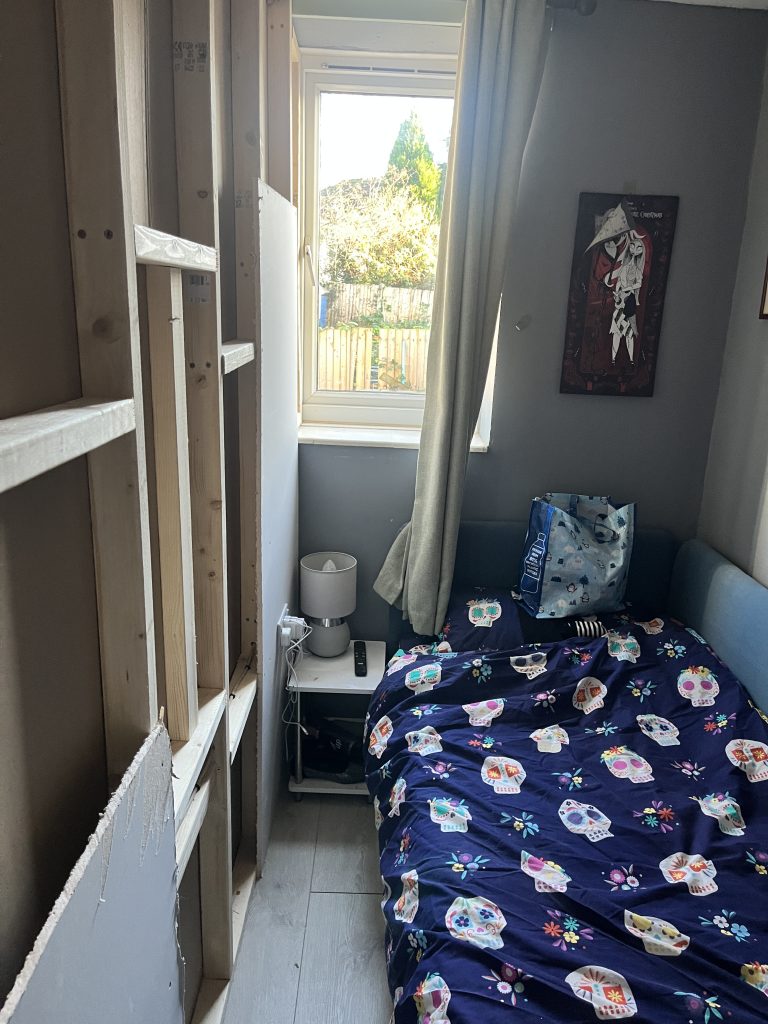
As Christmas was approaching, I needed to create a temporary split in one of Steph’s rooms. This would allow my daughter a space that she could be during the festive period. Having autism means she needs to withdraw as a matter of urgency, so this was the answer. I had planned to build this for nine months, and the time was upon me. After my foray into plastering, I was going to expand it to a larger skim. How did this go? Let’s find out.
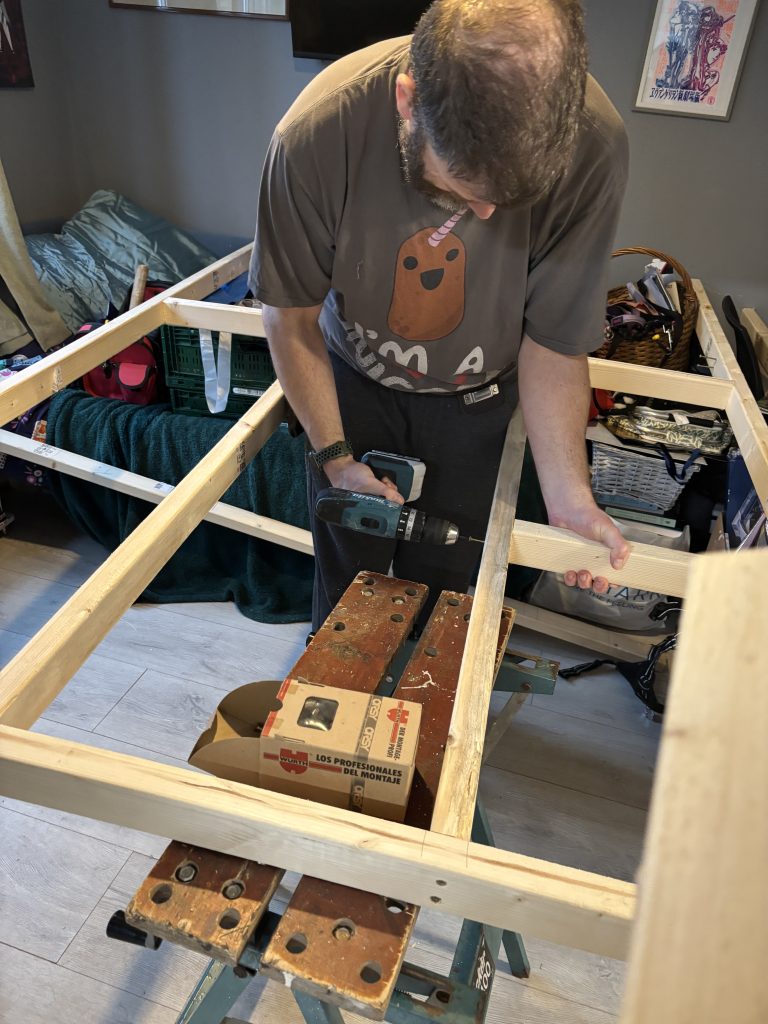
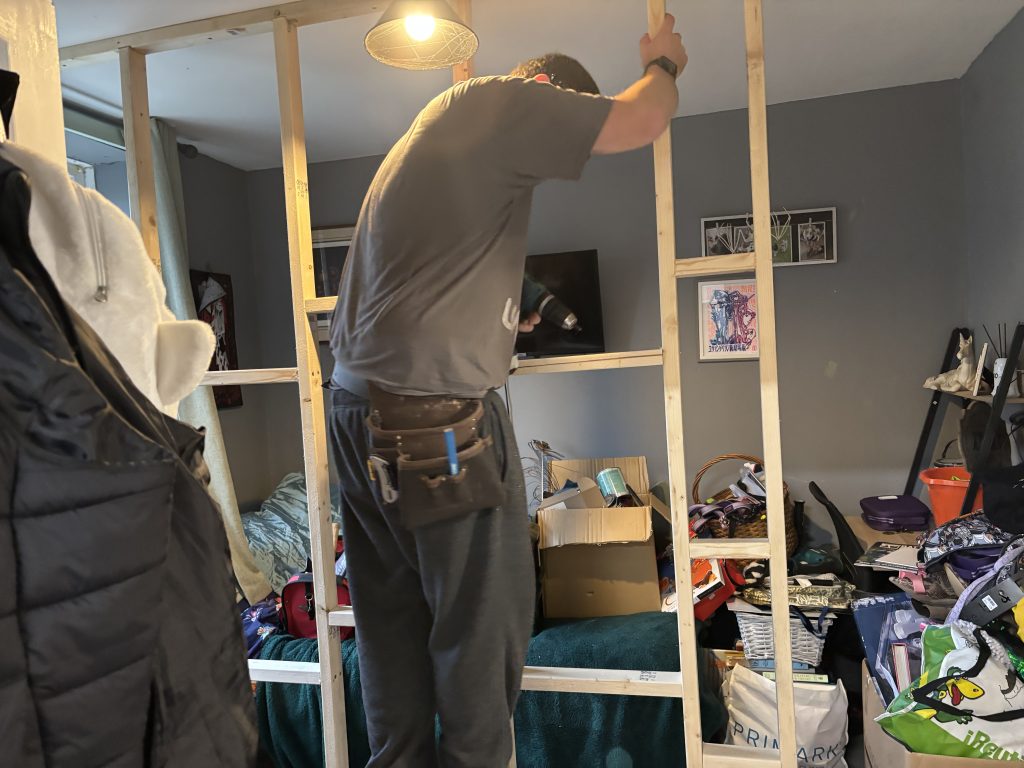
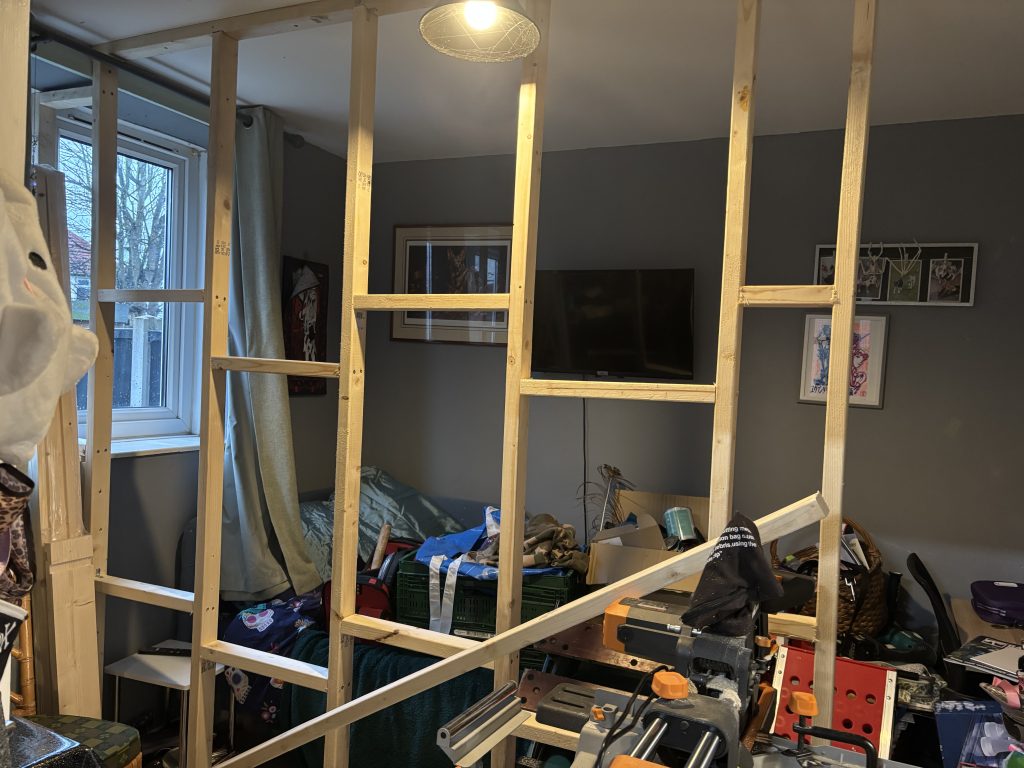
Phase One – Wall Frame: As the dining space is quite large, we placed a bed in the corner and realised that we could use 1/3 of the room as a sleep and safe space. I bagan by creating a frame that the plasterboard could be attached to. The trouble was fitting the door. We decided to use one of the double doors that we took off the dining/lounge divider. The width of this helps to make the best of the space that was available. After a debate, I used five screws to pin the bottom bar to the flooring. This could be filled in once the wall, eventually, gets removed. and easy ceiling meant the screws could just be placed in the top bar, and the dwangs were fitted in before the frame was placed. I added a small frame-section to fill out the space that cuts the window in two. I needed to chisel three of the connections between the top bar and the uprights. This is where the dead-blow-hammer comes into its own.
DID YOU KNOW?
A DWANG is the name given to the pieces that go horizontal between the upright timbers.
A NOGGING is the brickwork that is used to fill in the spaces in the wooden frame. (Also known as a brick-nog!)
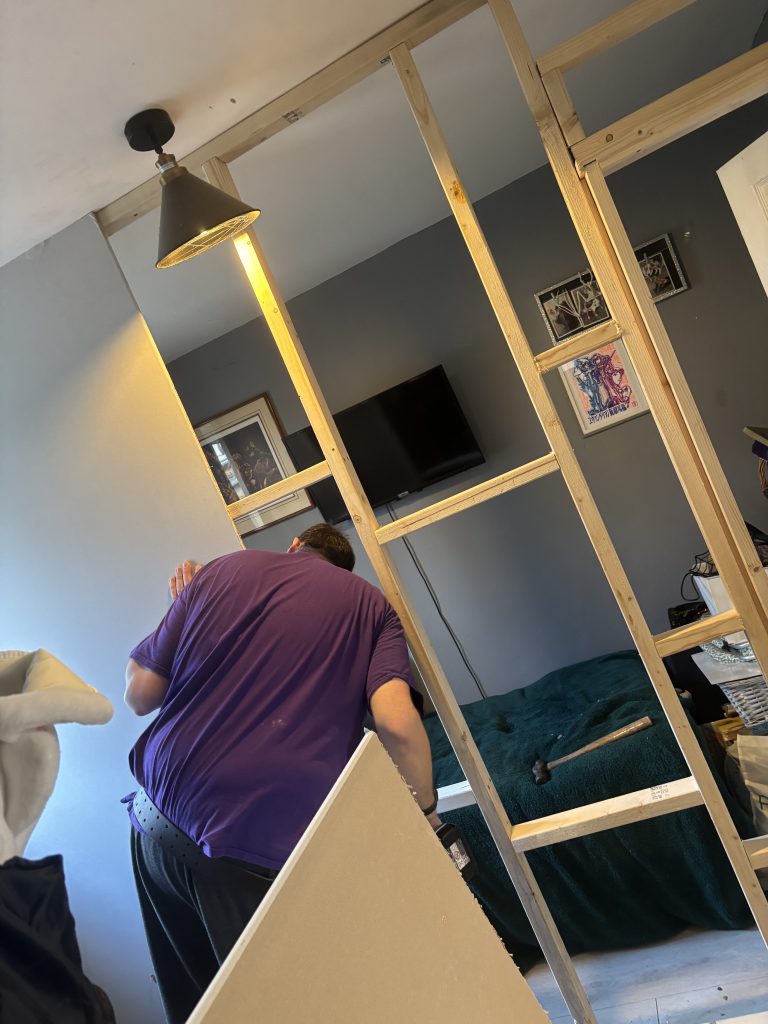
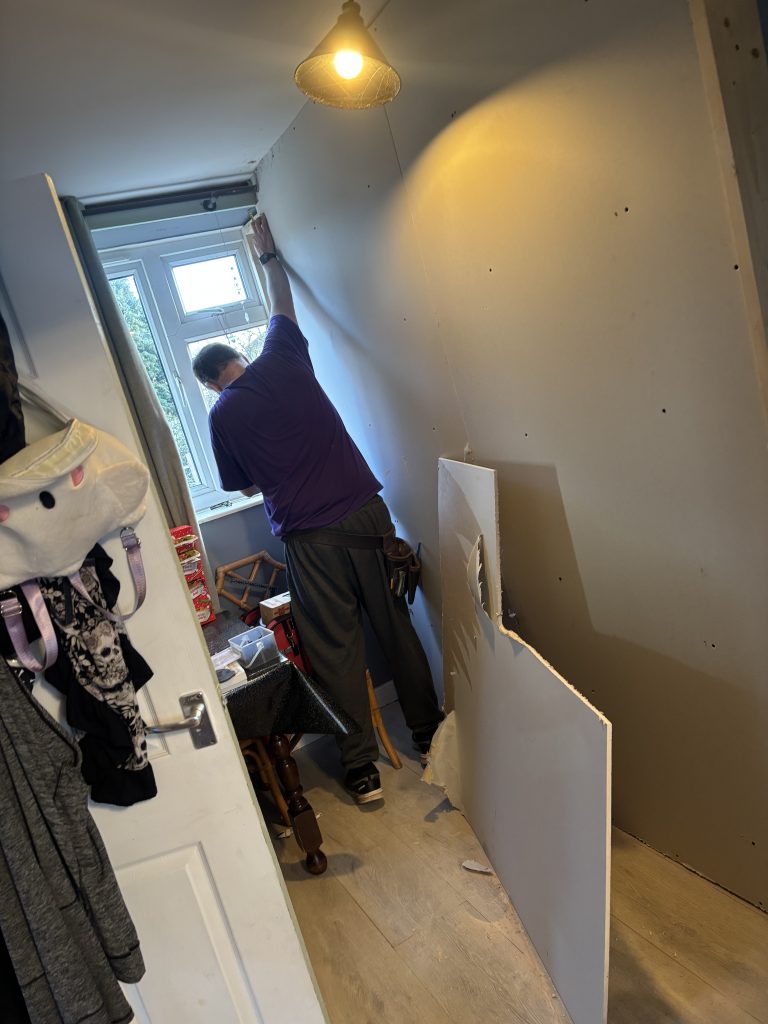
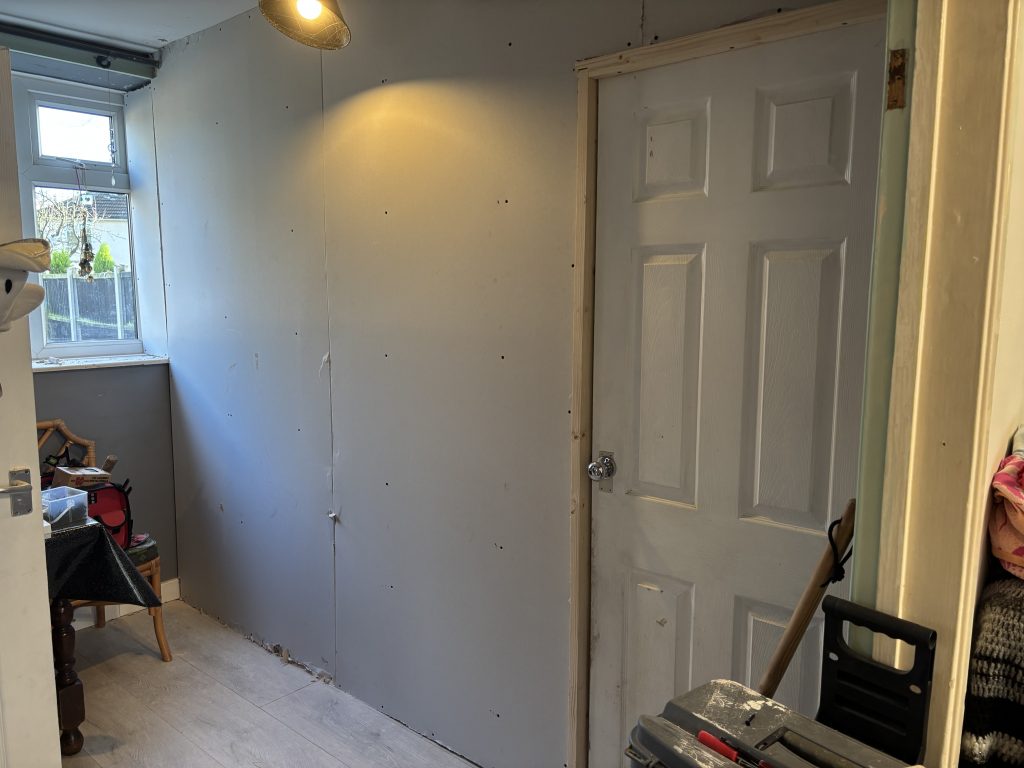
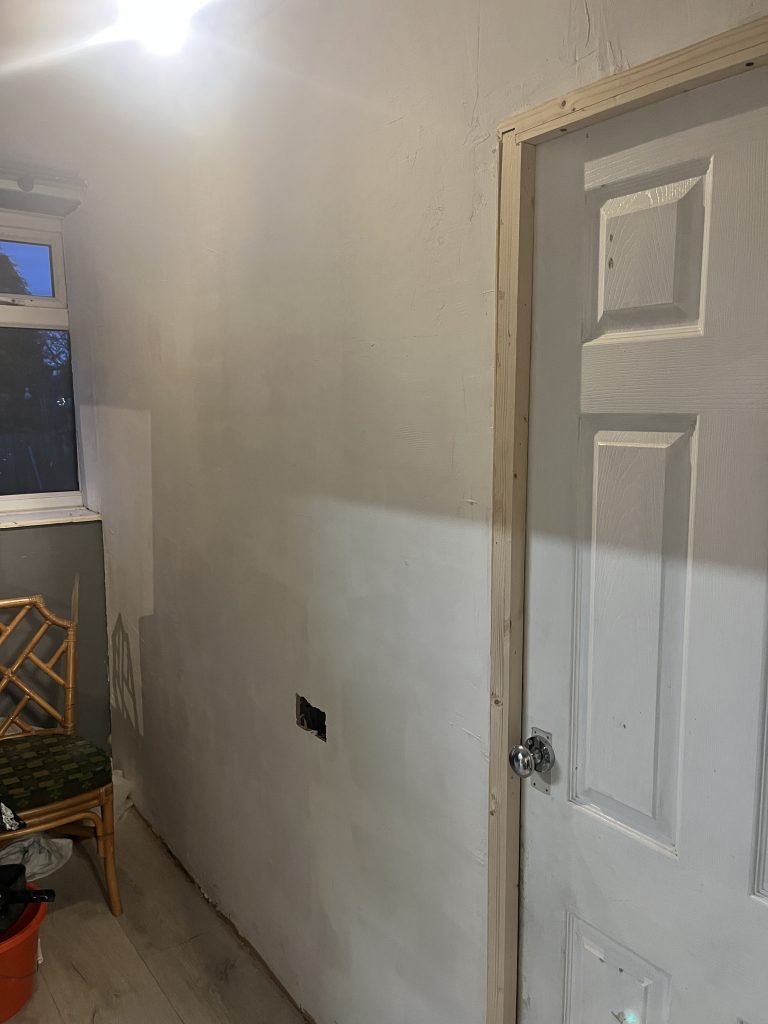
Phase Two – Plasterboards: The second day was all about adding the plasterboard to the frame, but not before I completed the timber and added door. This was a difficult task as the walls in the house are very wonky! At first, the prefabricated door frame was off-sized. There was a wide gap and Steph though to use the other side of the upper panel. This worked great and I used the jamb lengths to pack the back of the sides. We just need to grab another length to create a jamb down the side. At this point, the door furniture will be placed when the wall is complete. I had a crazy time shaping the boards, with the window section taking three goes. I did think that as rough as it is, it was done by my hands, and that is great. You should think that way, too.
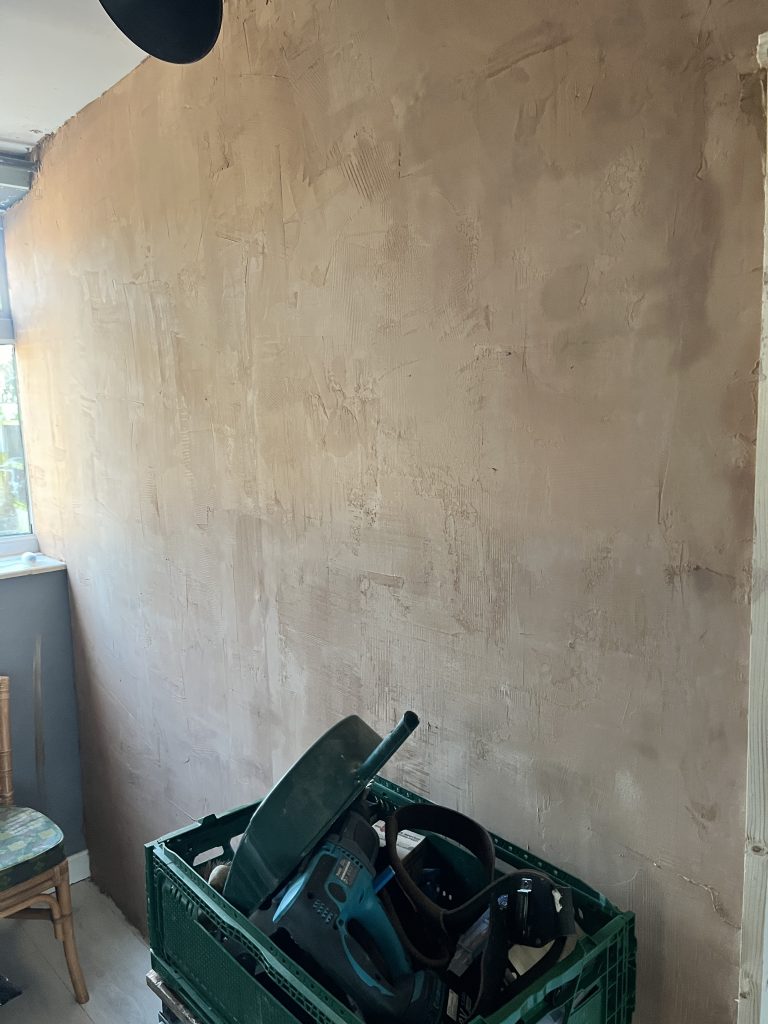
Phase Three – Plastering and Socket One: So the plastering began, and I made the usual mess! It was a bit thicker than the first wall, but still not enough. Even so, it went on the boarding and is now…reasonable. This was a much bigger wall, but I felt more confident, this time. The tape that I bought a few years ago was used to cover the gaps in boards, and worked well. Turned out, it was a good investment, at £1! Once it was complete, I filled in any gaps and we put the dehumidifier on. What a champion!
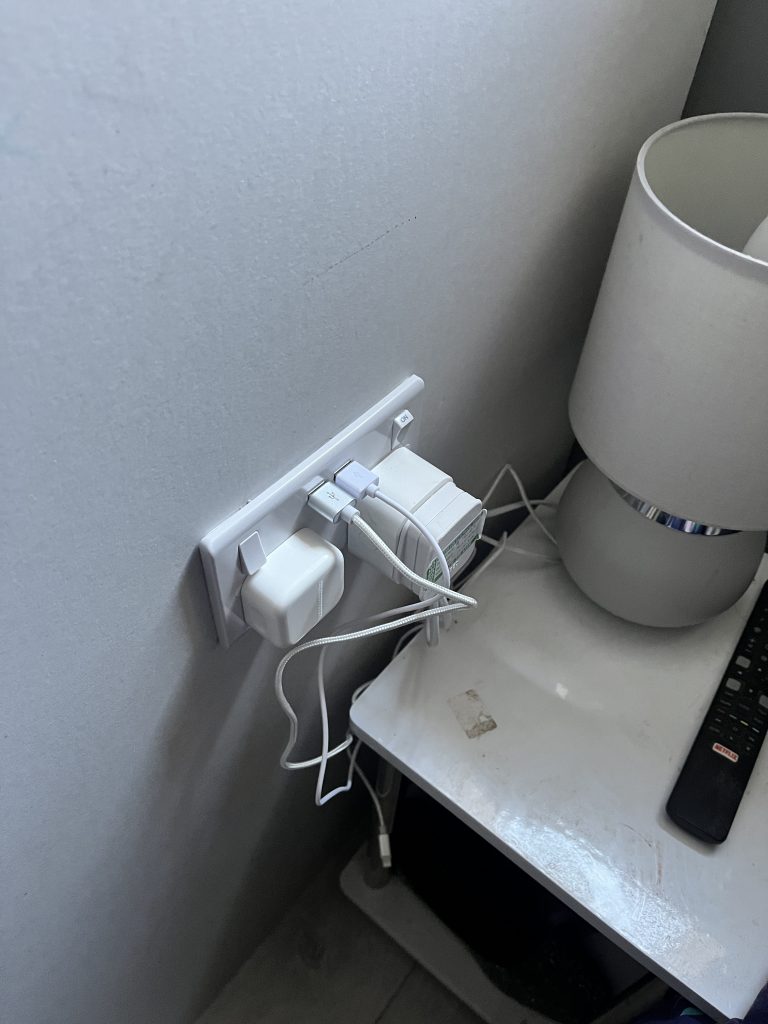
I completed the phase by adding the double socket on the inside room and covering the particular spots with scrap plasterboard. This is for safety and to make socket one sit in the wall. I did also tidy up the floor in there, and move the TV onto the wall behind the door. This was a good four hours of work, and has been quite the productive day. NOTE: The sockets are connected as an extension, only. They are all under the 13AMP maximum, for safety. Quite simply, they are attached to a plug, then plugged into a ring-main socket. Please DO NOT wire in sockets to the ring-main, yourself, get a professional to do it!
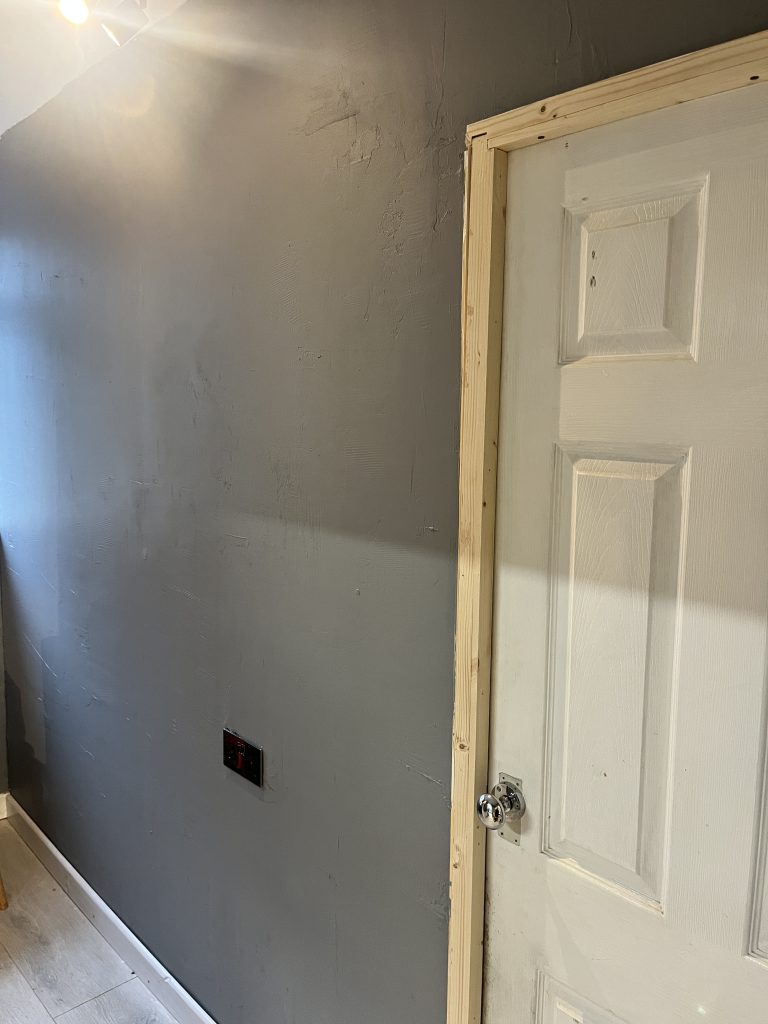
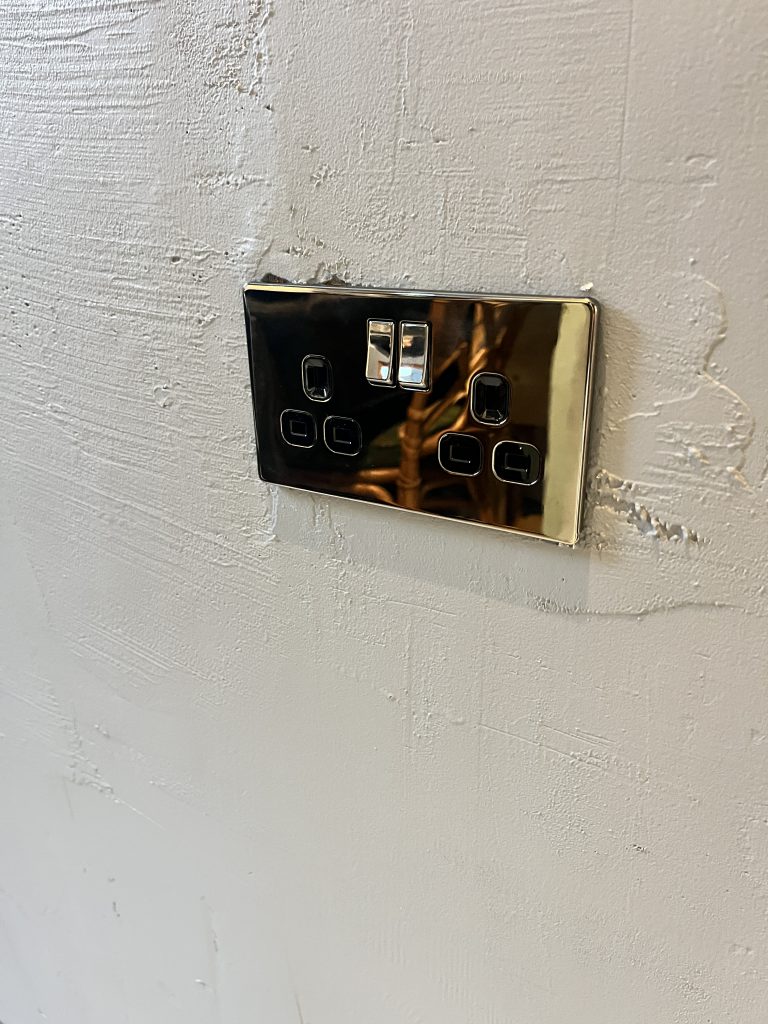
Phase Four – Paint the Wall, Skirting, Socket Two and Window Sill: The final phase is complete and the window sill is the last bit to be painted up. It looked really shiny! Before that, I needed to paint the wall with the leftover grey that was used in the rest of the room. I whited it up, first, so that the grey would take, easier. Don’t look too close, the wall is quite rough, but not unlike the rest of the house…just keeping it original! At least that’s my excuse! Two coats were added on one day, then the grey, on the next. It took only one and a partial covering for the grey to take; this was just what I wanted. The next bit was to add the second socket. This was simple enough as it is only on an extension line. (See Phase Three for details on that!) The skirting was the last of the wall additions. I whited this up with three coats to blend in with the rest. Final fixings will be completed over time. This will include caulking and filling in any gaps. We also want to add a blind to the window. The new light and switch look tidy and are also now edged with paint. It look pretty much ready for the festive period.
In Summary:
If anything, this is poof that you can do it. Putting Lego bricks together is just a matter of size. I could see, as I was plastering, how practise makes perfect with skimming. This larger job felt much easier than the ‘smaller,’ first, wall. With a little elbow-grease, this will now be a clean and modern space to live in. Go on, get building and try, you never know what you can achieve!