December ‘2022:
Having been asked to give the horsebox a spruce-up, I set off down the hill to look at the lorry. It’s a twenty-two year old, blue, box of tricks. At the time, I had never set foot in a horsebox, let alone refurbished one. Bearing in mind that I live more than thirty-miles away from the stables, this is a job that has taken months to achieve.
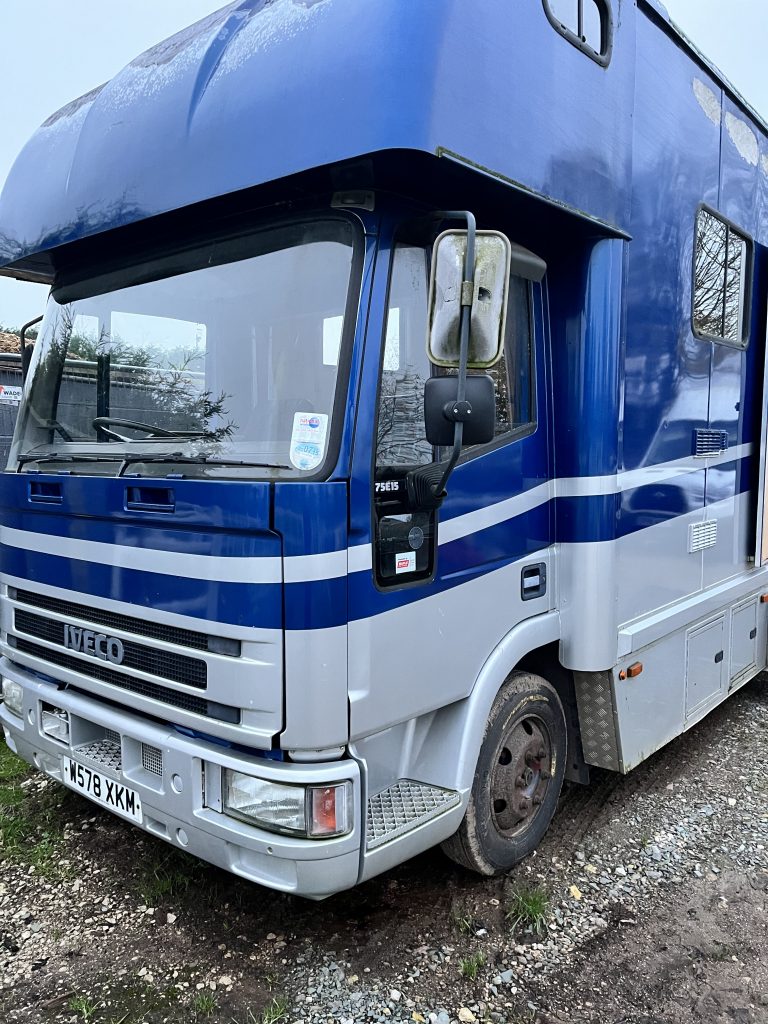
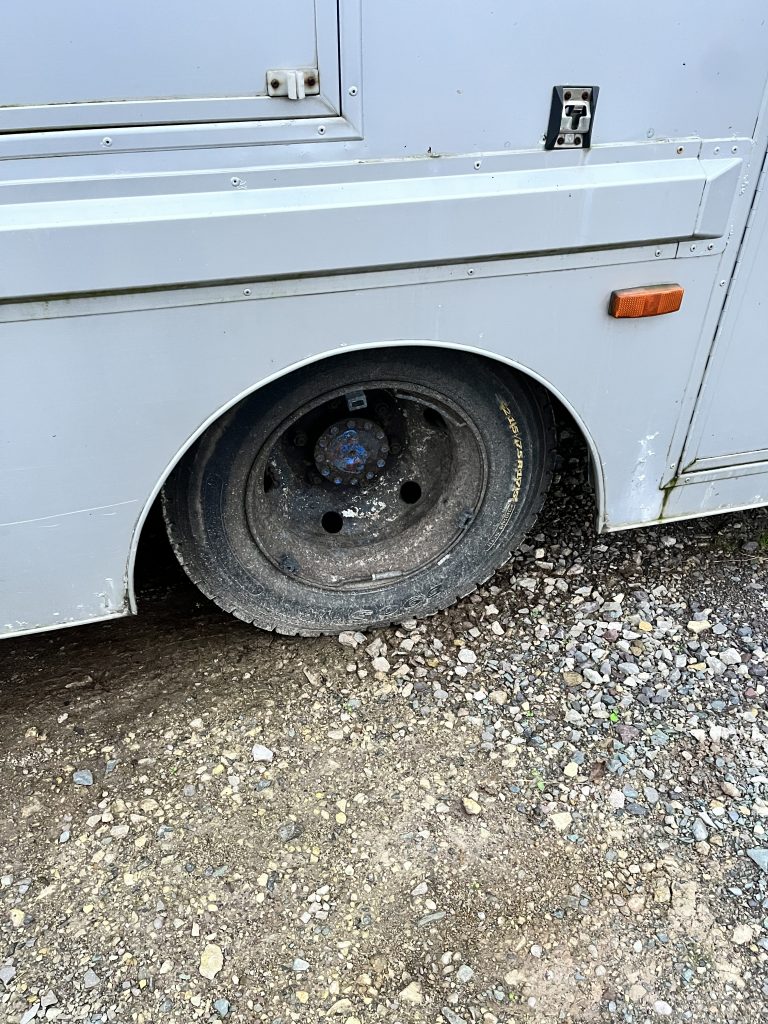
The truck is tidy for its year. Some rust, but nothing that is considered poor. The wheels are looking tired, with some paint-up needed. All hinged articles are working as expected, with the door catch being worn. Tyres are all okay, too.
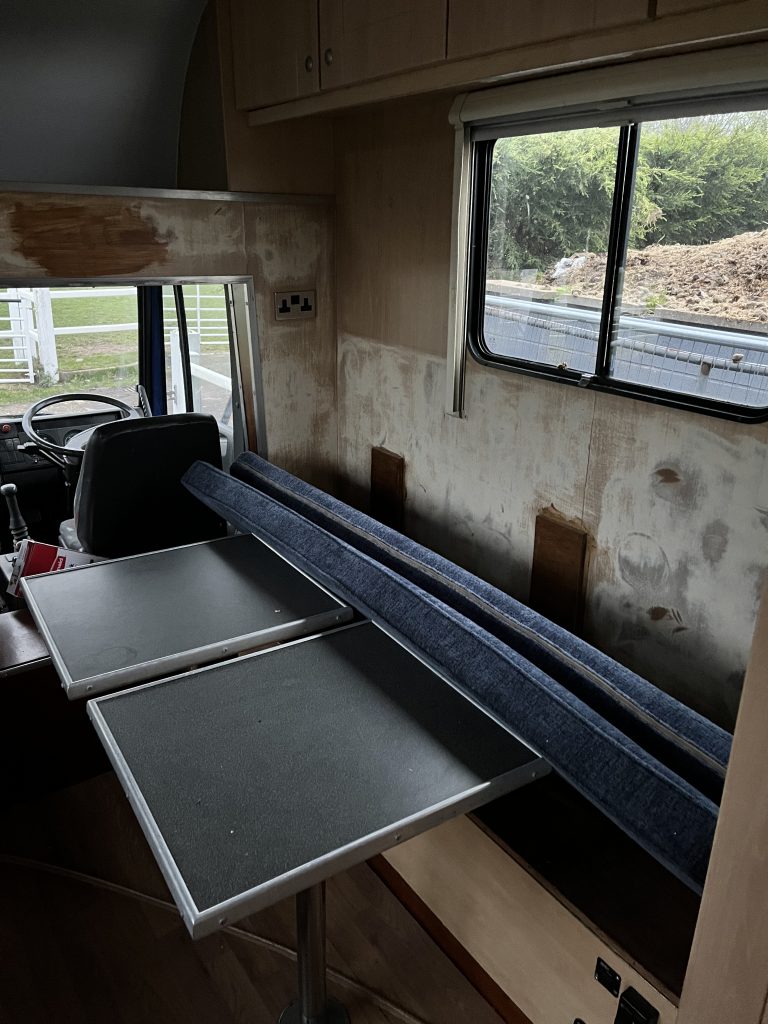
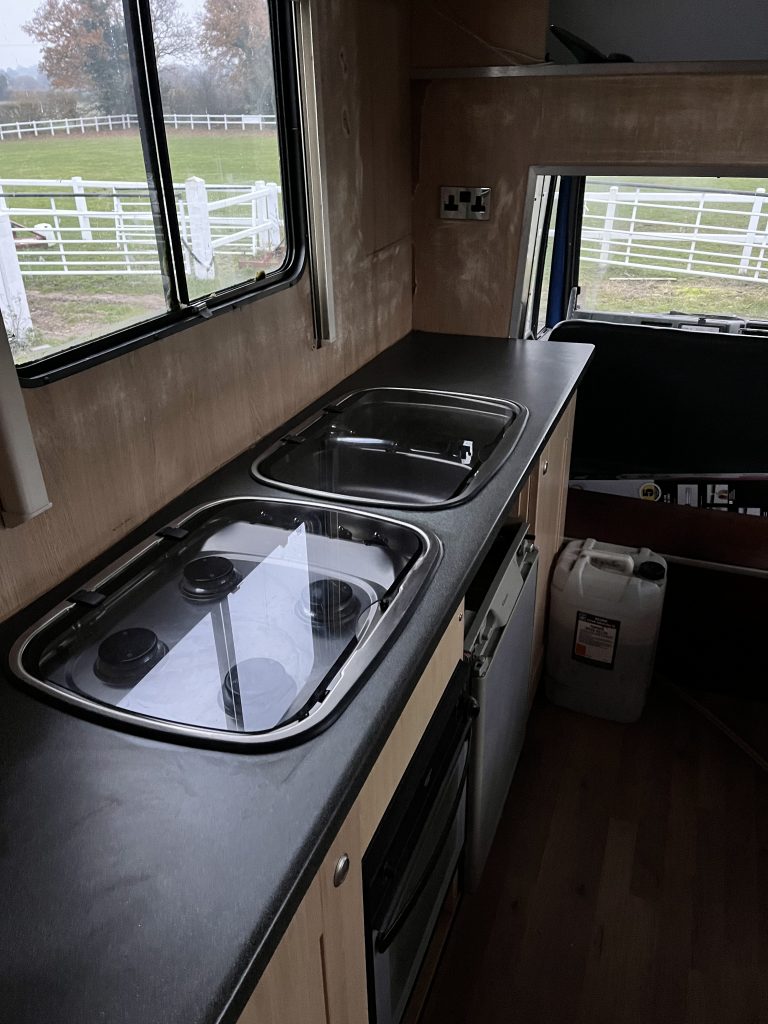
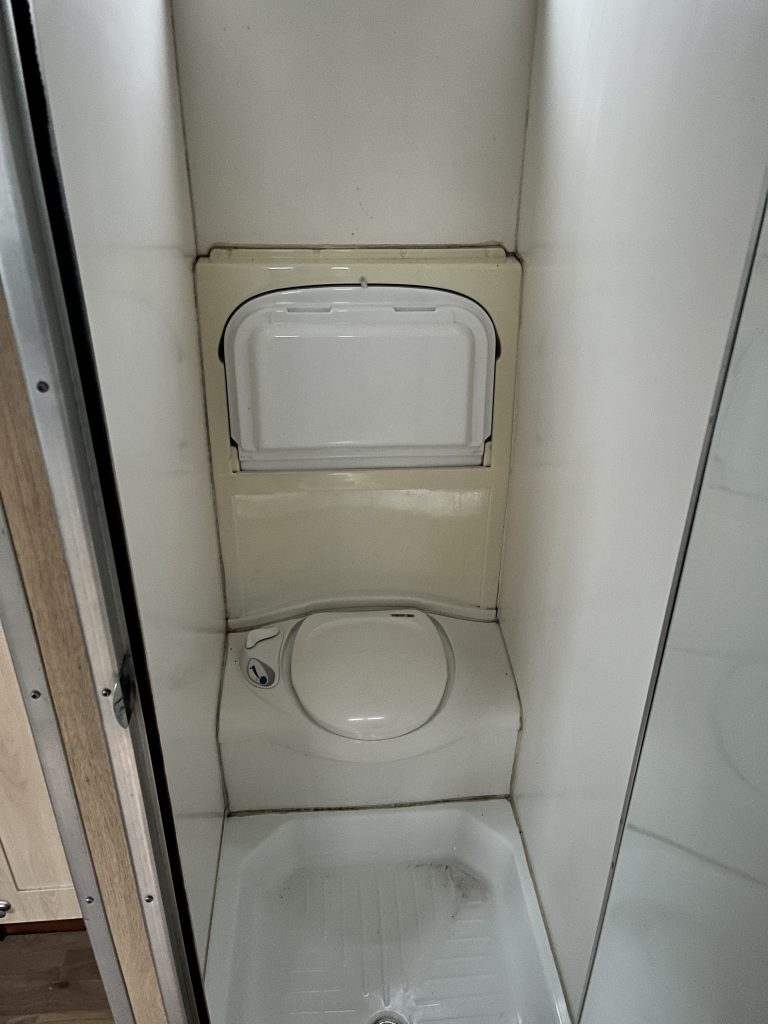
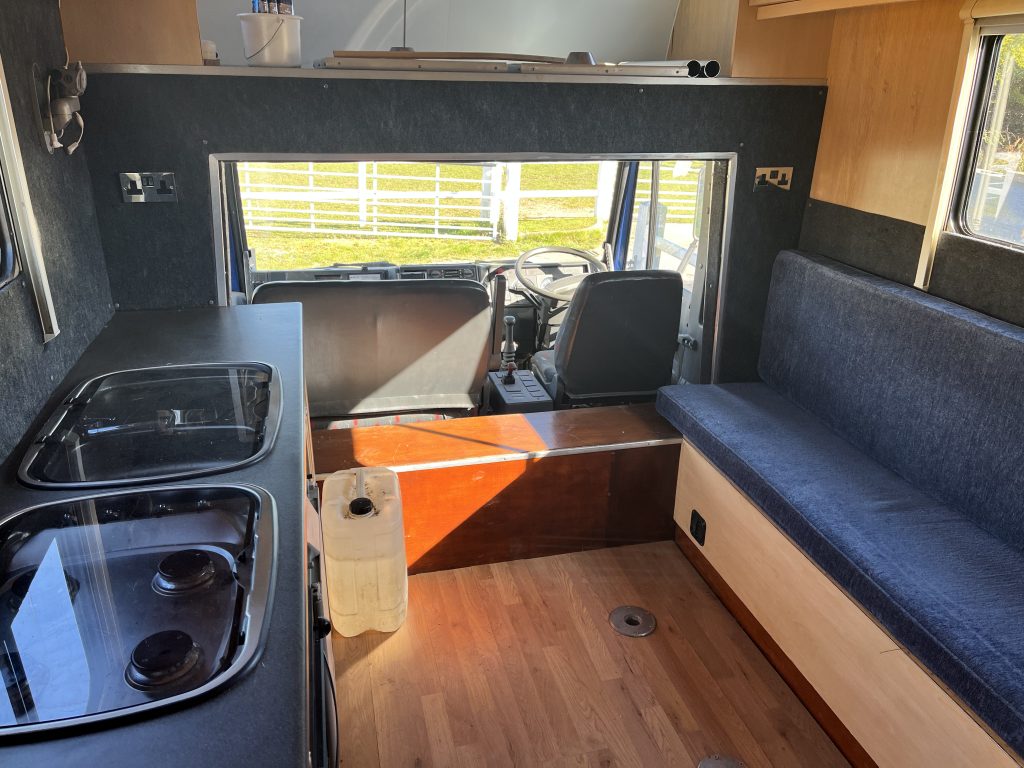
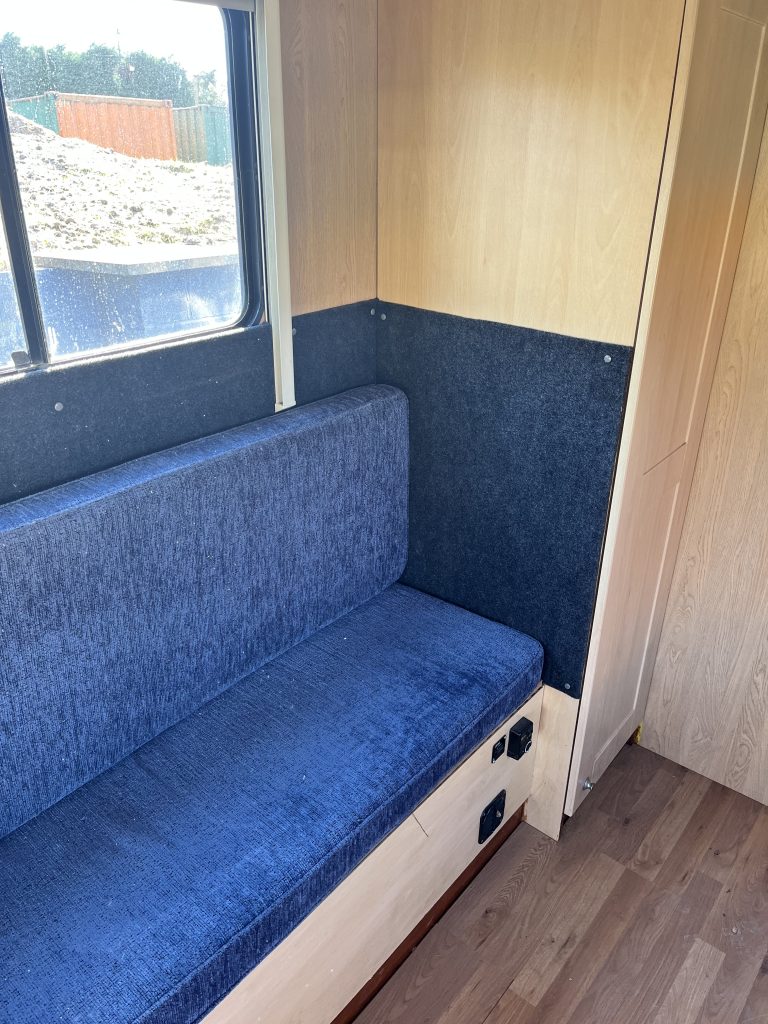
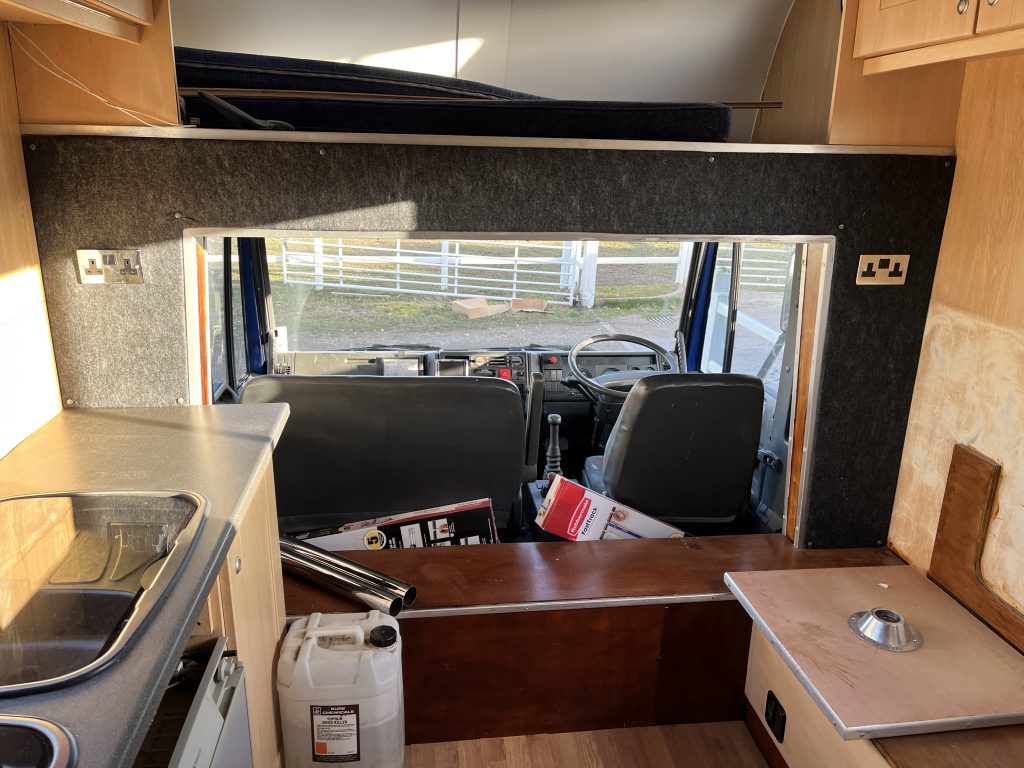
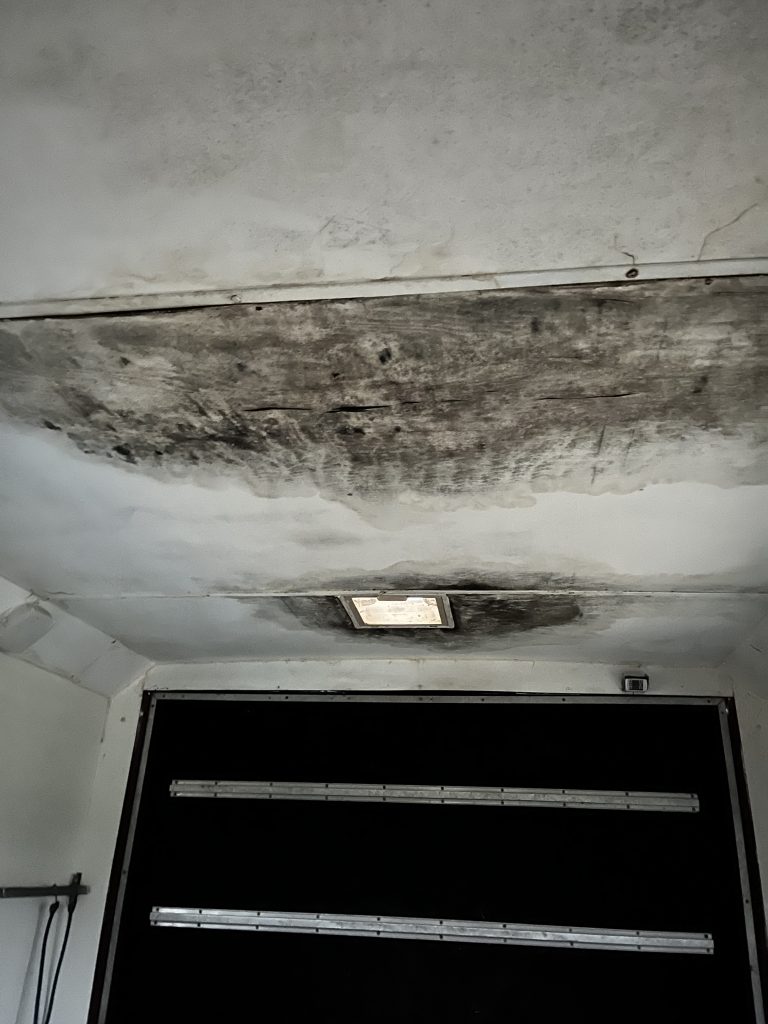
Inside is where the most work is needed. The walls of the living space have been worn away. I am unsure of what has caused it. The TV bracket is off of the wall. The fire-blanket is also missing. The cupboard doors need straightening, and parts of the wall have delaminated. The toilet space is in great condition. There is nothing to be concerned about with the cartridge system, but the water system will need cleaning through. The stable section, found at the rear, needs work on the ceiling. After a board change, the sky-light has been leaking and there is mould all over. The cab is in need of some cleaning, too. A ‘dashing’ dash will make the cab look far better. The truck starts well, but the leisure battery is long since packed-up.
Now for the ideas to start forming…
Two weeks later:
The jobs will be done with the following ideas in mind:
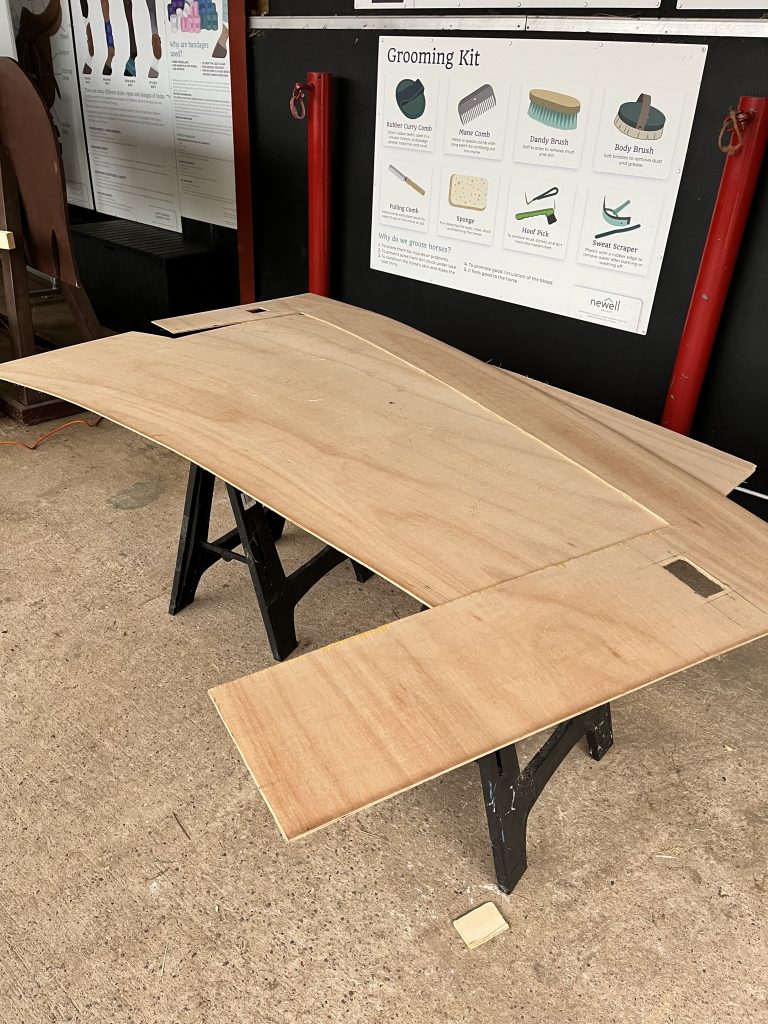
- Re-cover the walls with wrapped, 6mm, ply-board. After much research, camper stretch-fabric was the best choice. This would need to be done on three sides, and have apertures cut out for the 240v sockets. The blind-guides will also need to be accounted for. The hole above the refrigerator also needs to be sealed.
- Paint the wheels in silver; add metal paint to the rear hinges and facia.
- Clean the cab by polishing the dash, I must also consider stitching up the seat fabric.
- Remove the sky-light and assess the boarding. Re-seal and replace. Paint the ceiling.
- Storage cupboards need to be stripped out. Possible re-coverage with paint or painted boarding.
February ‘2023:
The first wall, including socket apertures has been completed. A hidden nook will also be covered with board and fabric. This took some time as I needed to cut the boarding further up the hill and test it several times. With the sockets having been pulled through and fixed back to the housing, this was then completed. This took approximately three-and-a-half hours.
March ‘2023:
I have painted the wheels and hinges, as expected. They look much tidier, but would have been better served with black, rather than silver paint, a choice that I would change, in hind-sight. One side of the trimming has been attached to the floor, but is not as tidy as I would like.
The other two walls have now been added. Getting around the blind-guides was tricky, but with some tweaking and an imperfect threshold for tight joints, this took a lot less time than the forward wall. I did, however, need to cut around the bed legs. This then needed to be cut and altered to allow the bed to sit flat to the wall, allowing for the added wall section to be screwed on. I also decided that the nook should have the same treatment. And so three smaller sections were cut and covered, then fastened in. I would have liked to have made a better cut of the bed edging. Planning it would be a good idea; just a thought for the future. The TV bracket and fire-blanket have also been re-attached to the galley wall. This was another four hours.
April ‘2023:
At this point, the truck has dead batteries, so I am awaiting the change so that I can complete the work.
To be continued…