
The pillar-drill has made it to the workshop and I have had a play with it. It is single speed and allows up to a 13mm bit to be fitted. Once I had fastened it to the workbench, I realised that I needed to have some drill bits to hand. I perused Amazon to see what wall-racks were available and found the most tidy looking ones were on Etsy. With these at a high price, I decided that making one would suit, for now.
It was time to power up the Clarke Pillar-Drill and make a block with holes in it. For this I needed:
- Block of wood (Approximately 25 x 10cm)
- Metal Rule
- Pencil
- 2 x Small L-Bracket
- 1 x Large L-Bracket
- The DRILL
- 10mm, 8mm, 5mm Drill Bits
- 13mm Flat Wood Bit
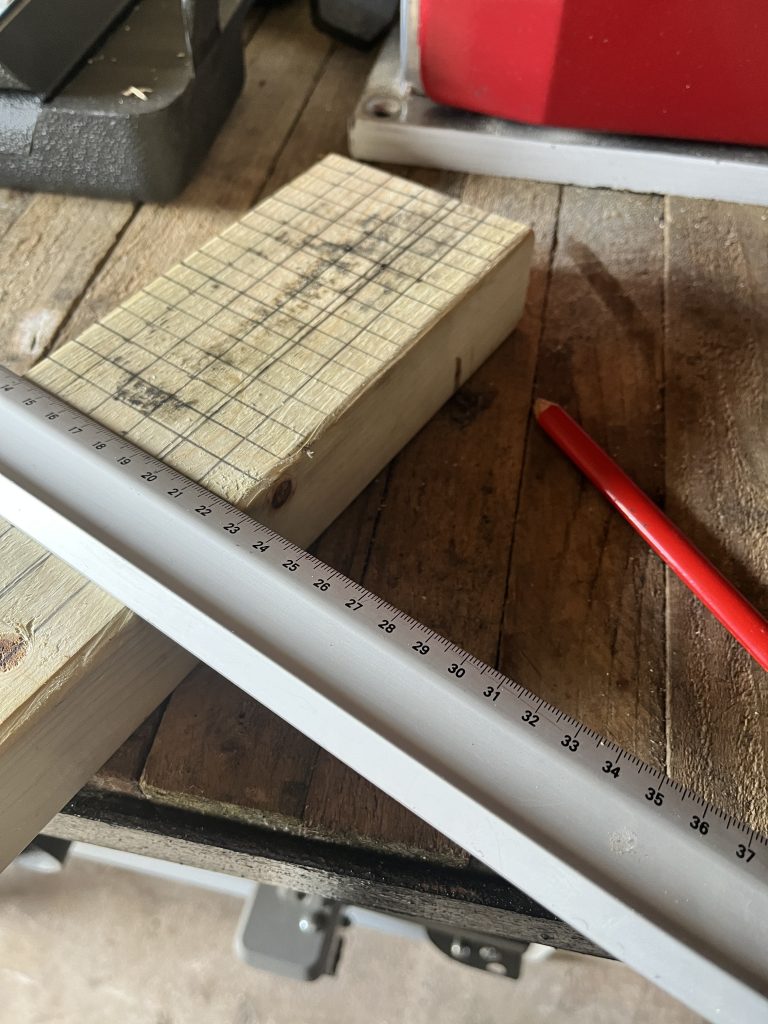
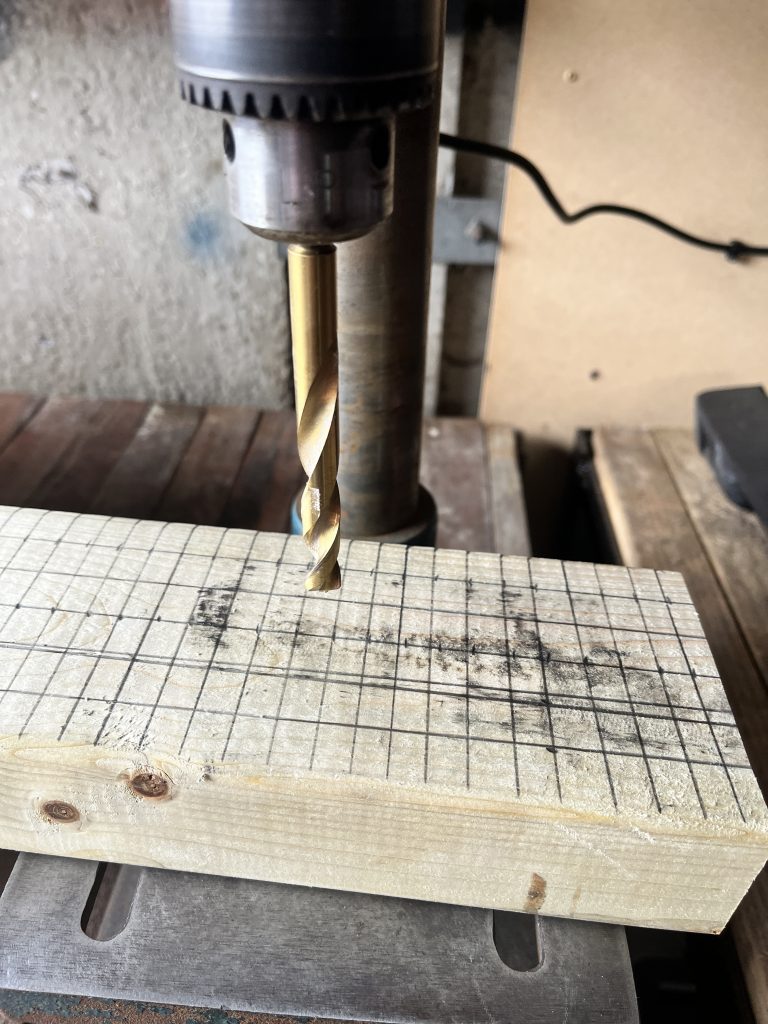
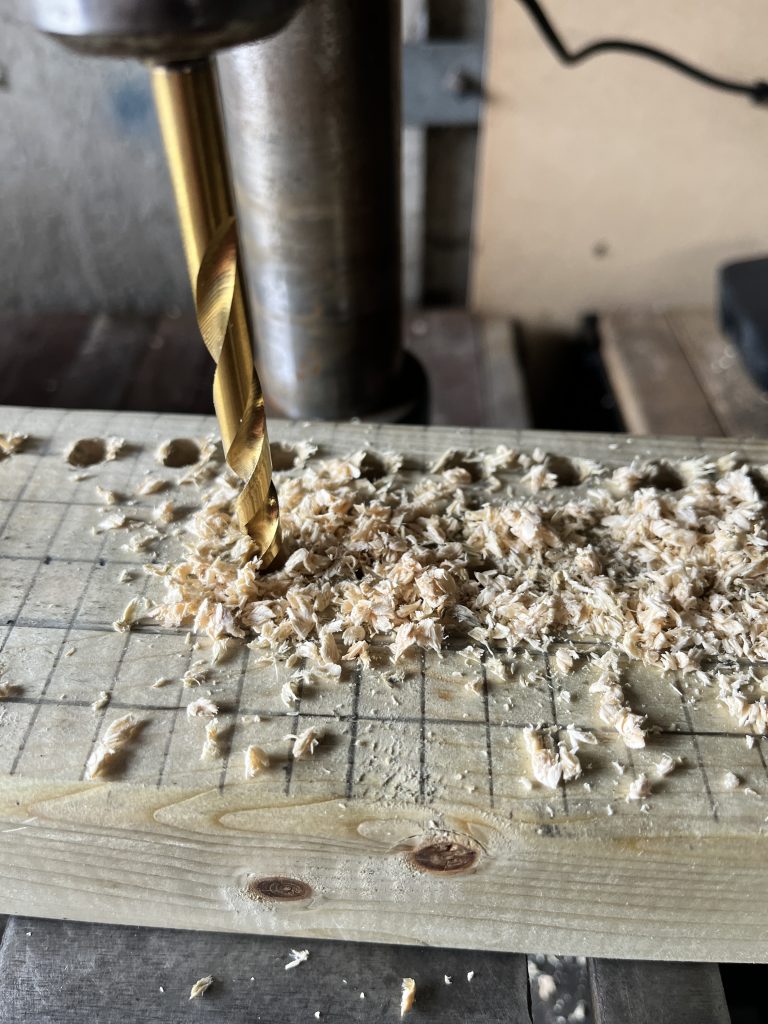
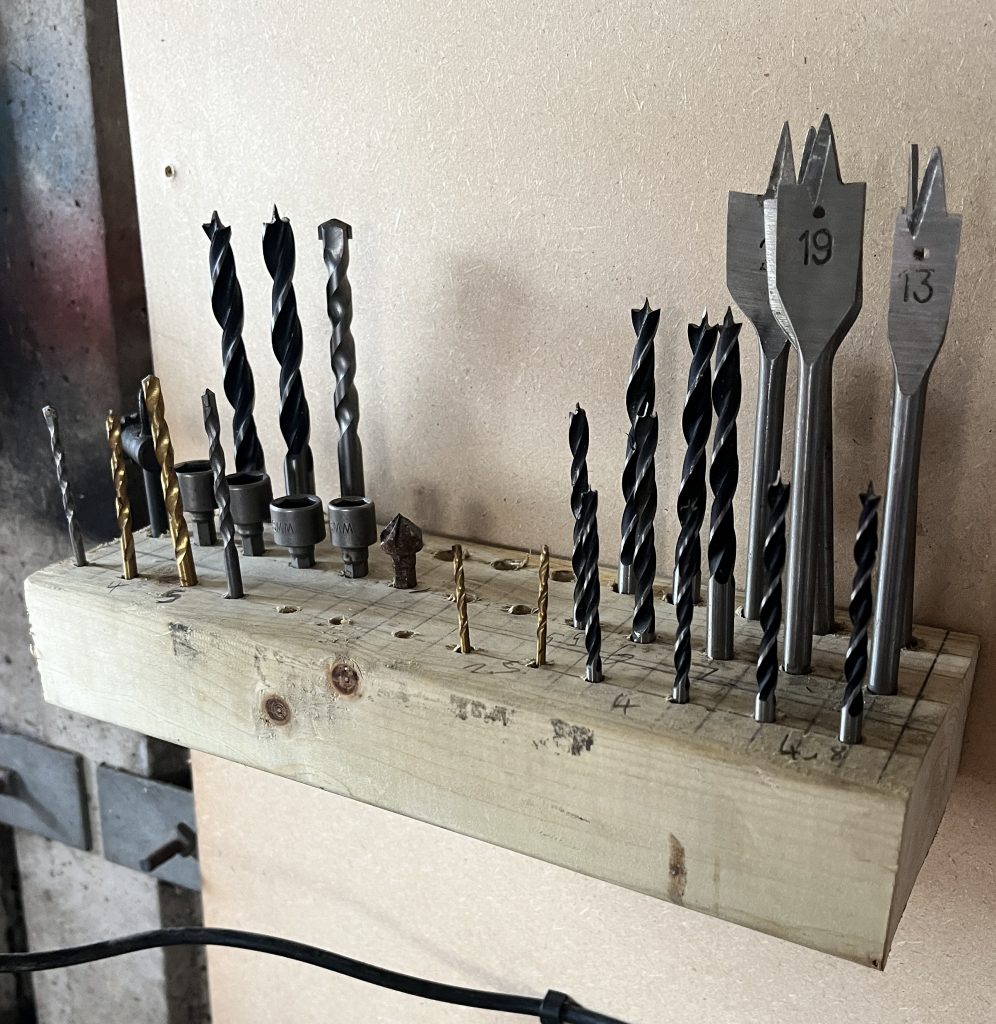
I began by making rough measurements. This looked like squares by the time I had finished. I drilled holes down the back row at 10mm; the middle row was 8mm, then the front row was drilled with a 5mm bit. Once this was sanded a little, I added the small brackets on each end and the large one in the centre and attached it to the wall, behind the drill. It’s not perfect, but it will serve the job I have made it for.
After setting it up, I found that I had to drill a few of the holes out. I chewed it out to 13mm, so then the larger bits could then fit. Along with standard drill bits, I was able to put the drill’s chuck-key, the flat wood bits and counter sinks into it. Not a bad use of fifteen minutes, and I saved at least a tenner!