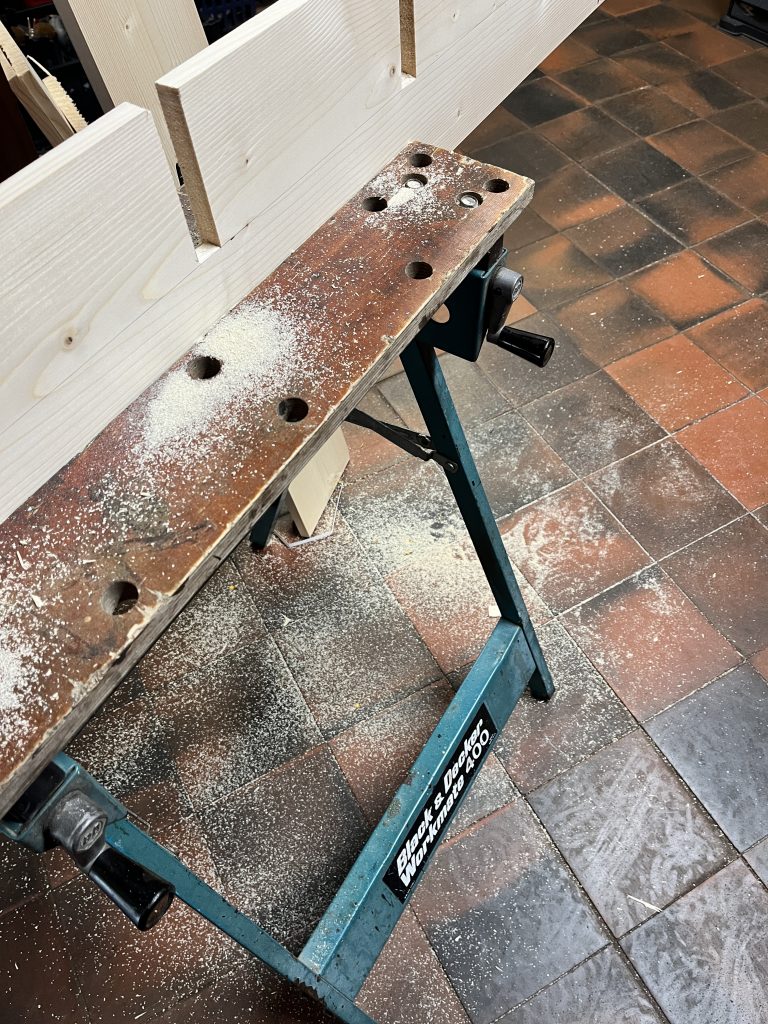
Another week, and another set of progress. Today was all about completing what I had started last week. I had put the inner-skin into place using pins, but wasn’t sure of how it would look or survive a week with riders throwing boots onto it. After it had been varnished, it appears that it has done well, so I decided that I would screw it into place and begin the outer-skin. For this, I would need to set up all of the parts.
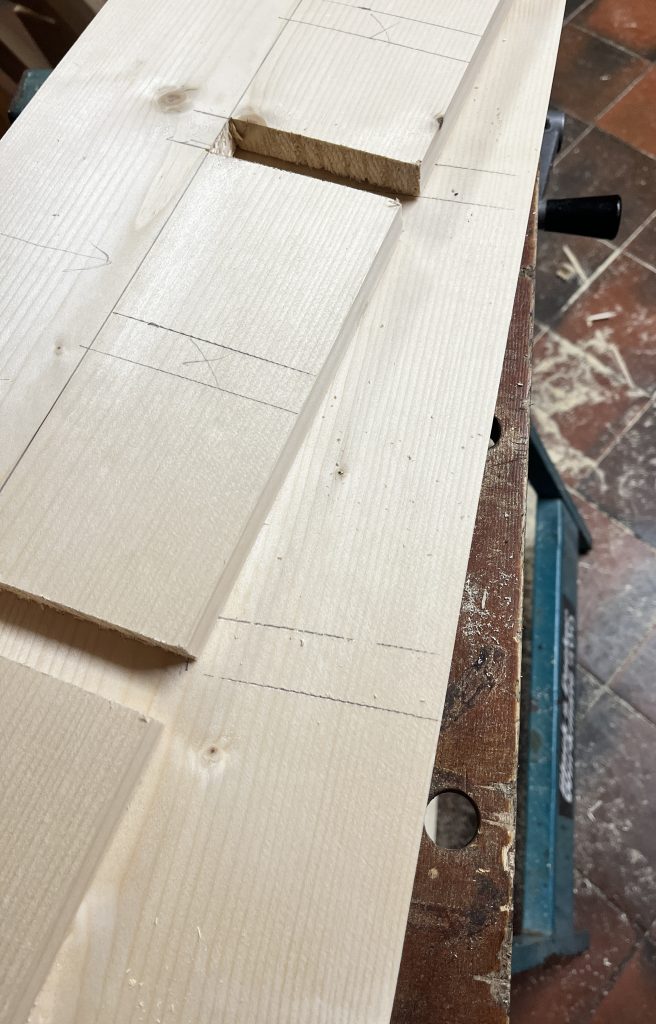
I began with creating the side panels, marking them in comparison to the inner-skin, and then began cutting and replicating it for the second side. I then made the inner-uprights; I was planning on making four cubbys for the shelves but it turned out to be better as only three. This meant I had a spare upright, so that was nice. I spent the last part, creating the shelves, before assembling it.
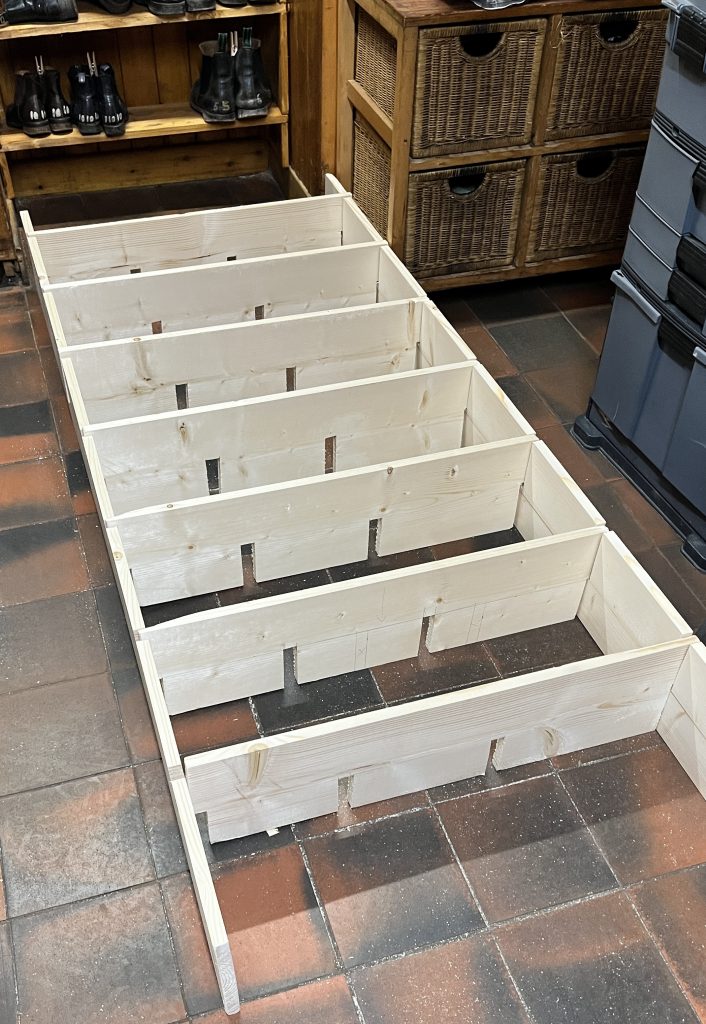
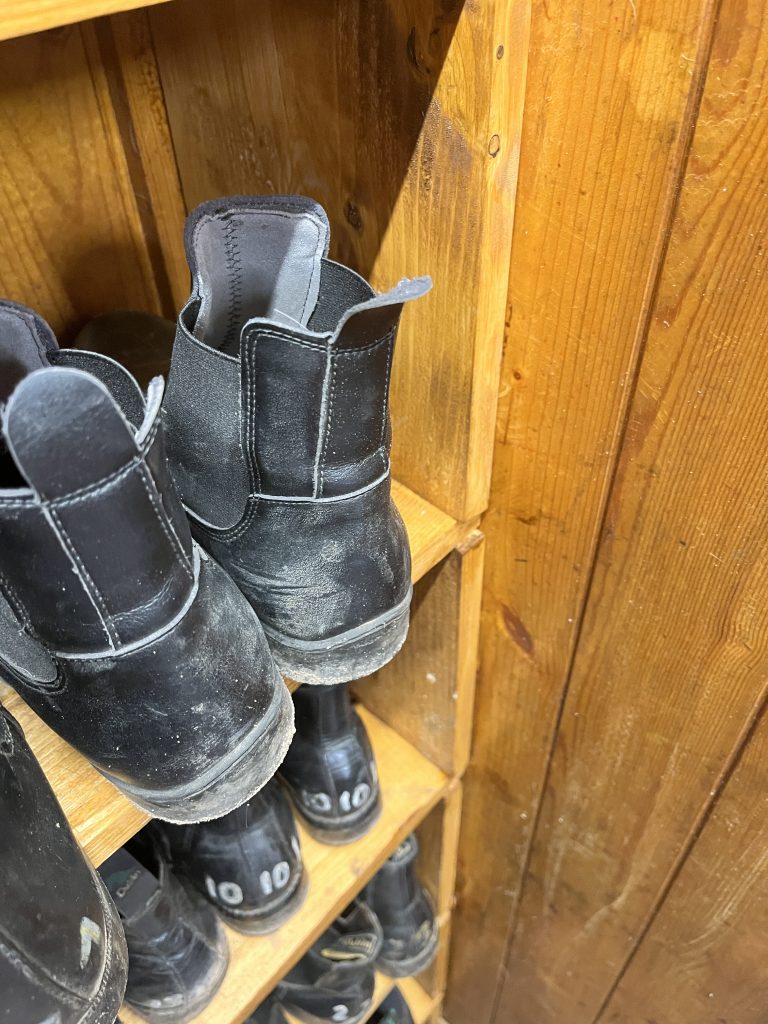
I chose to assemble it on the floor, then lift it into place. It was a bit of a fiddly one, but I got there. Once in, I screwed it into place and adjusted the planels to be in the best fit they could be. As I had grabbed a few more of the strips for the shelving fronts, I completed the original unit as it required three more and then managed to cover all of the new shelf fronts with the excess trim. I even had one piece left over for future shelves. All there is to do, is to complete the top and bottom panels with some temporary sections of the leftover wood. This will allow me to see where I should aim, next.
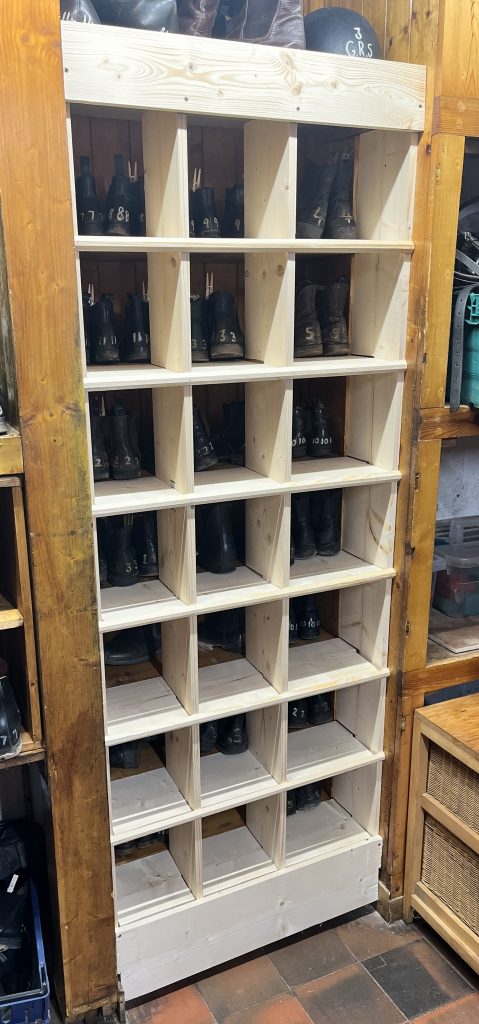
I opted to make this different to the first shelf setup, and with the pre-made module from last time being a bit of a dud, I went with another way. Putting the shelf notches back-to-back, meant that they would be fixed in place. I am pleased with this outcome. It was decided, in the week, that the right had side of the unit will now become the cupboards. So here’s to the next stage in the Tack Room saga.