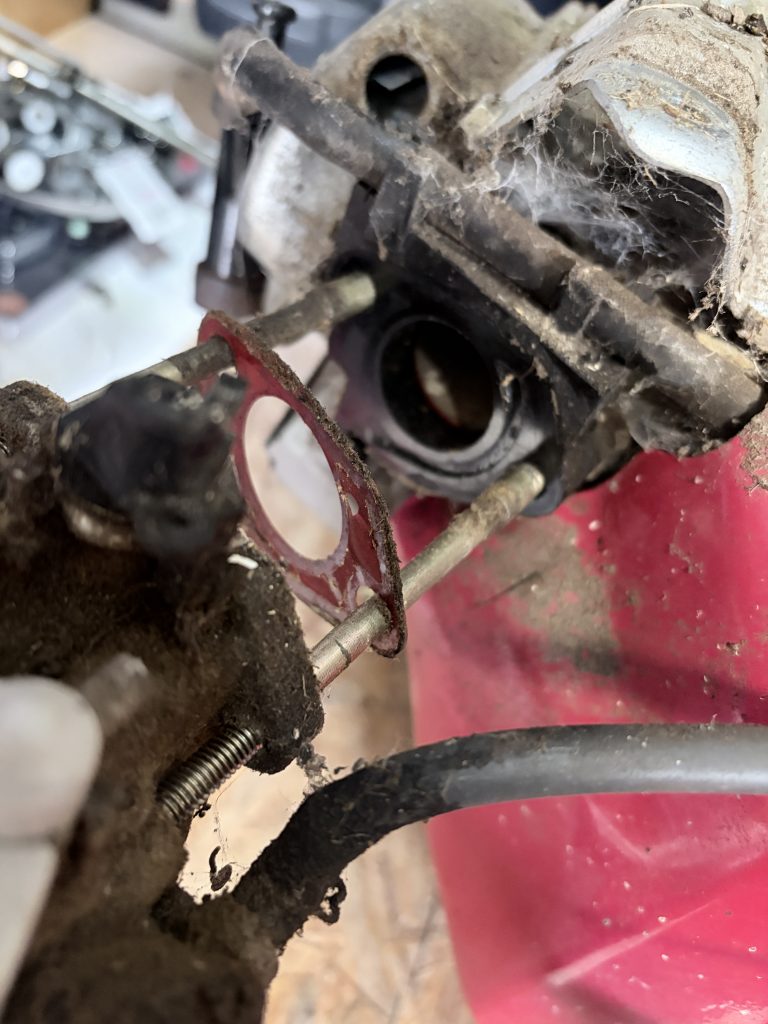
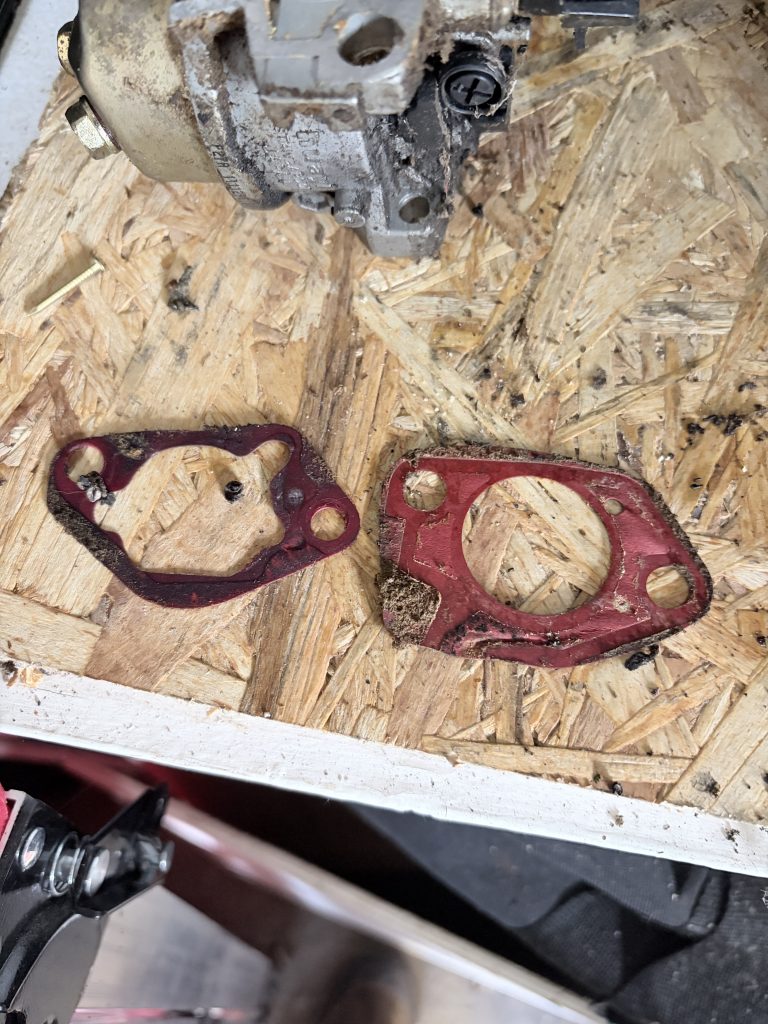
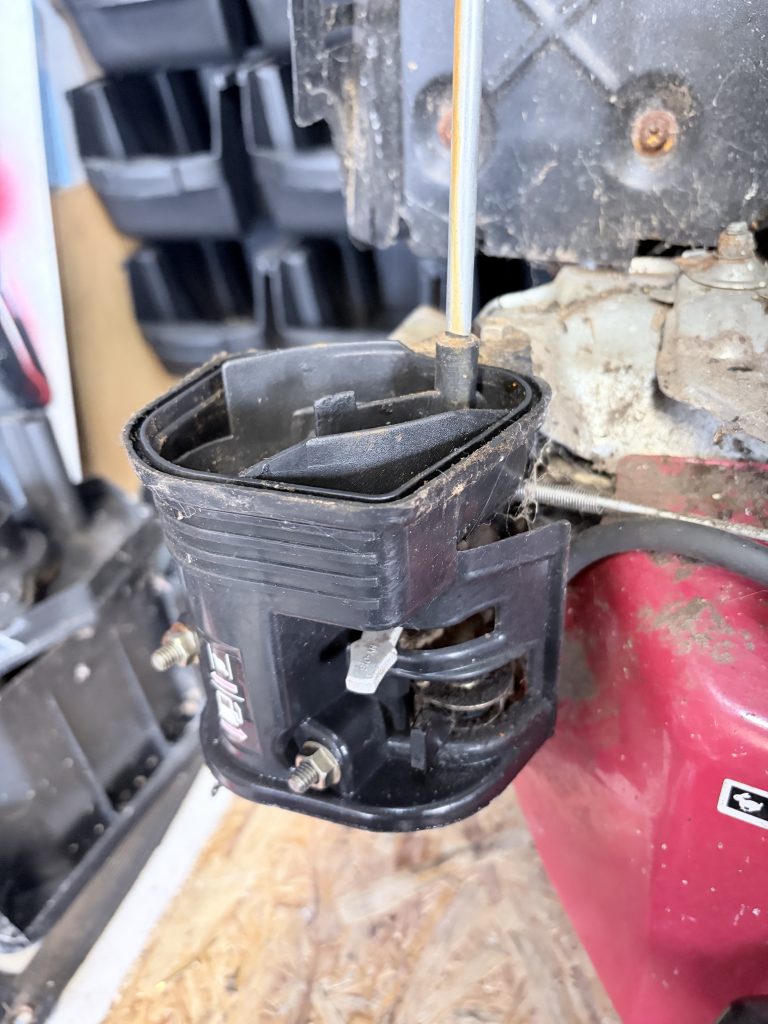
I have made it to the part where the engine and chipper-base have been separated. I also pulled the carburettor off of the body and resealed the damaged gaskets. You can see from the images that the red gaskets were worn. I decided that I should use liquid gasket to seal the parts. This is applied to the rim and will stick on to seal the connecting points. With the engine sat on the bench, I gave it a pull and found that it still does not start. This is not conclusive, though, as there is still a few jobs to do. It didn’t help that the pull-cord handle came off during this stint!
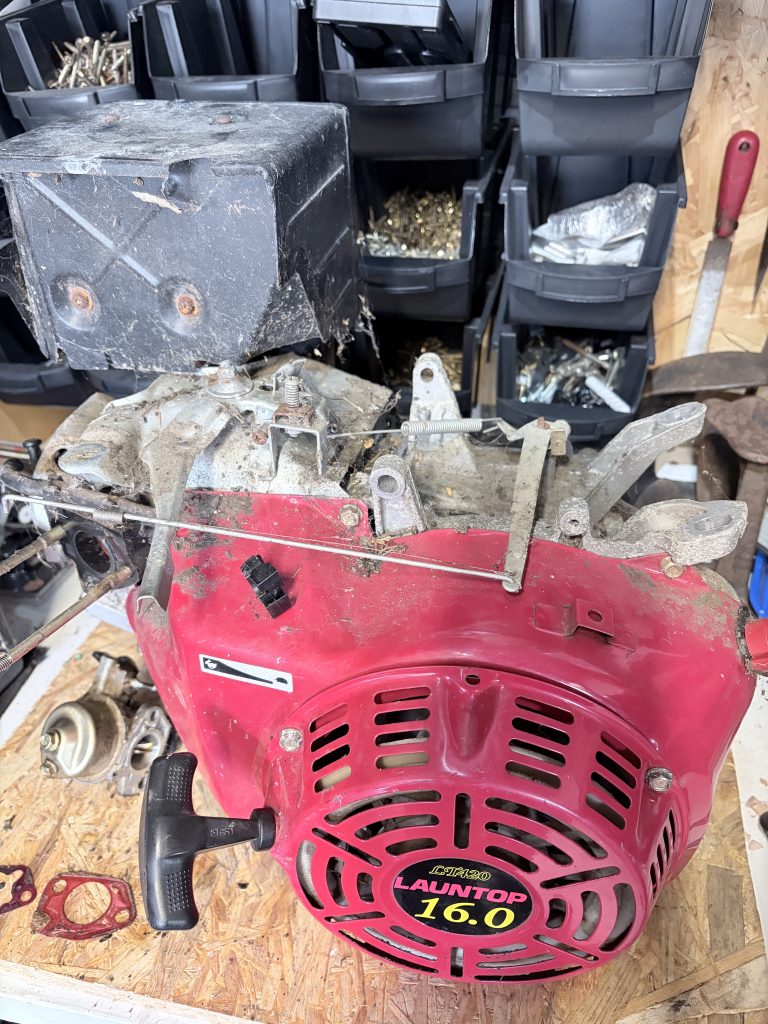
Looking at the base, it is moving well and will just need a tidy up. Some metal paint and a bit of grease should see this do many more years. The emphasis for this new phase is all about the engine. In general, it looks very tidy. I used the compressor to blow out cobwebs and dust that has accumulated for the last several years. When piping the carb back up, I noticed that the fuel was no longer leaking…this is a good thing!

I intend to swap the small hose clip with a Jubilee-style, loop. This will help to seal it. There is no reason to believe that the inside of the crankcase is an issue. I can’t know for sure without a compression gauge or stripping it down, but I am confident that this is an unlikely issue. That’s enough for this part. I did intend to make it longer, but I will do a part three. My time is taken by the updates on Vyvyan, for now.